The Best Freshwater Fish for Frying
Not all freshwater fish fry equally well. The best candidates share a few characteristics: firm enough flesh to hold together in hot oil, a mild flavor that doesn't turn bitter under heat, and a thickness that cooks through before the coating burns.
Walleye is the gold standard for fried freshwater fish. Its firm, mildly sweet flesh holds a coating beautifully, and it cooks evenly without falling apart. The crispy walleye fingers and beer-battered walleye recipes on this site are both built around this. Yellow perch is a close second — thin fillets that fry in under 4 minutes and have a clean, delicate flavor. Bluegill is the classic panfish fry: very mild, crispy, and forgiving to cook. For a full comparison of how these species differ at the table, see the freshwater fish cooking guide.
Pat your fillets completely dry before coating them. This is the single most important step in frying fish. Moisture on the surface of the fillet turns to steam in hot oil, which prevents the coating from adhering, causes the oil to splatter, and makes the crust soggy instead of crisp. Dry fillets = crispy crust. Every time.
Pan-Frying vs. Deep-Frying
Both methods produce excellent fried fish, but they suit different situations and deliver slightly different results. Here's how they compare:
- Oil depth: ¼ to ½ inch in the pan
- Equipment: Cast iron skillet or heavy-bottomed pan
- Best for: Walleye, perch, bluegill fillets; fish fingers; fish cakes
- Crust type: Golden, slightly thinner crust; crispier on the contact side
- Cleanup: Easier — less oil, contained in the pan
- Best coating: Seasoned flour, panko, or cornmeal
- Cook time: 3–4 min per side for standard fillets
- Watch out for: Uneven browning if oil level is too low; sticking if pan isn't hot enough before the fish goes in
- Oil depth: Enough to fully submerge the fish (3–4 inches minimum)
- Equipment: Deep fryer, Dutch oven, or deep heavy pot
- Best for: Beer-battered fish, thick fillets, fish and chips
- Crust type: Even, puffy, full-coverage crust all the way around
- Cleanup: More involved — large volume of oil to manage
- Best coating: Beer batter, tempura batter, thick seasoned batter
- Cook time: 4–5 min at 375°F for standard fillets
- Watch out for: Oil temperature drop when adding fish; crowding the fryer
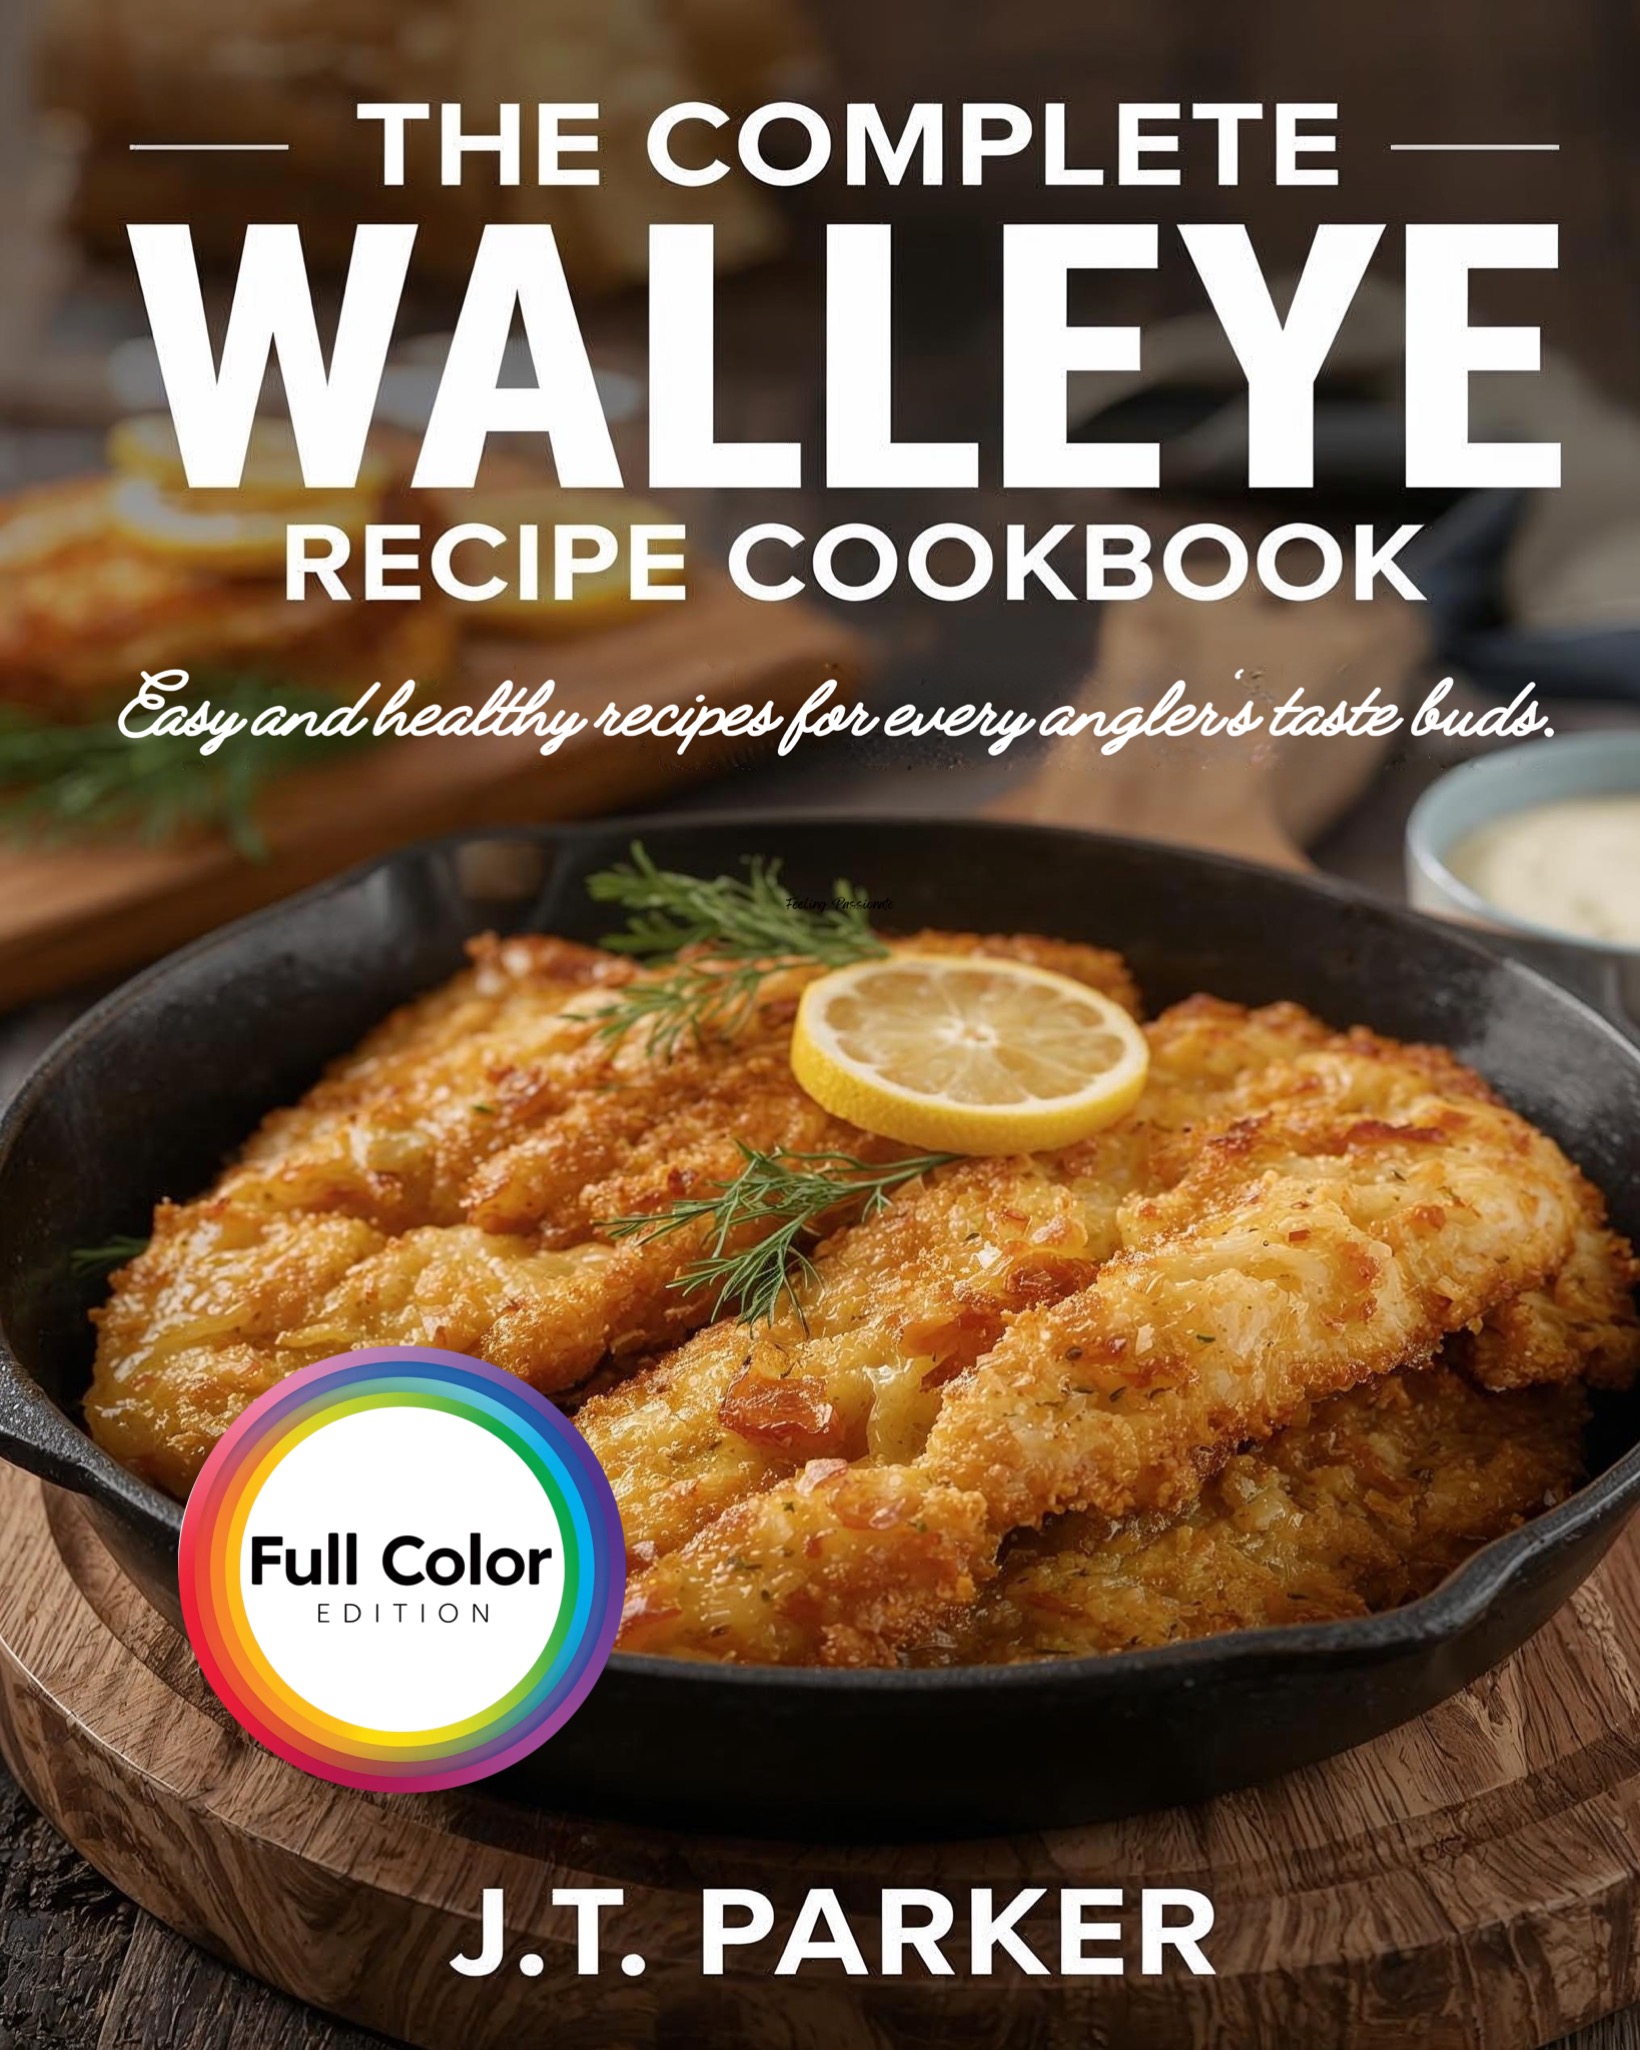
The Complete Walleye Recipe Cookbook opens with the frying basics and builds from there — crispy walleye fingers with five sauces, beer-battered walleye, walleye fish and chips, then walleye tacos, chowders, curries, pasta, kabobs, and more. Every recipe has a full-color photo of the finished dish and clear step-by-step instructions.
Get It on Amazon — $22.99How to Pan-Fry Fish — Step by Step
Pan-frying is the most practical method for most home cooks. A cast iron skillet gives the best results because it holds heat evenly and recovers quickly when cold fish is added. If you prefer a hands-off approach, a Ninja Foodi air fryer produces a surprisingly crispy fillet with less oil — worth considering if you already own one or are watching for a deal on Ninja Foodi air fryer price drops. This is the technique behind our crispy walleye fingers and the base method for making walleye fish cakes.
-
1Dry Your Fillets Thoroughly
Pat every surface of the fillet dry with paper towels — top, bottom, and sides. For fillets that have been thawing, press firmly and repeat until the towels come away nearly dry. This step cannot be skipped.
-
2Season and Coat
Season the fillets with salt and pepper on both sides. For a simple pan-fry, dust lightly with all-purpose flour and shake off the excess — this creates a thin barrier that helps the crust form. For a panko crust (used in the walleye fingers recipe), dredge in flour, dip in beaten egg, then press into panko breadcrumbs.
Pro TipLet coated fillets rest on a wire rack for 5 minutes before frying. This helps the coating adhere and dries the outer surface, which means a crispier result.
-
3Heat the Pan and Oil to Temperature
Place your cast iron skillet over medium-high heat for 2–3 minutes before adding oil. Add enough neutral oil to reach ¼ to ½ inch depth. Wait until the oil shimmers and a pinch of flour sizzles immediately on contact — the oil is ready at around 350°F. Do not add fish to cold or barely warm oil; you'll get a greasy, pallid crust.
-
4Add Fish and Don't Touch It
Lower the fillets gently into the oil, laying them away from you to avoid splatter. Do not move them. The fish will stick initially, then release naturally when the crust has formed — usually 3–4 minutes. If you try to flip it early, you'll tear the crust and leave half of it in the pan.
Pro TipDon't crowd the pan. Fillets need space or the oil temperature drops and the fish steams instead of fries. Work in batches if necessary, and keep cooked fillets warm in a 200°F oven while you finish.
-
5Flip Once and Finish
When the bottom is deep golden and the fillet releases from the pan, flip it once using a wide spatula. Cook 2–3 minutes more on the second side. The fish is done when the internal temperature reaches 145°F or when the flesh flakes easily in the thickest part. Remove to a wire rack — not paper towels, which trap steam and soften the crust.
-
6Rest on a Wire Rack and Season Immediately
Transfer to a wire rack over a baking sheet. Season with a pinch of flaky salt and a squeeze of lemon while the crust is still hot — seasoning adheres best immediately out of the oil. Serve as soon as possible; fried fish is best within minutes of coming out of the pan.
How to Deep-Fry Fish — Key Points
Deep-frying produces an even, full-coverage crust that's difficult to achieve in a shallow pan. It's the method of choice for beer-battered fish — the batter coats every surface and puffs up in the hot oil. Our beer-battered walleye uses exactly this technique.
Oil temperature is everything in deep-frying. At 375°F, the batter sets immediately on contact and the moisture inside the fish turns to steam, which keeps the interior from becoming greasy. Drop below 350°F and the batter absorbs oil before it sets, giving you a heavy, greasy result. Use a thermometer and be patient — let the oil return to temperature between batches.
Adding too many pieces at once drops the oil temperature sharply. Each piece of fish requires space for the oil to stay hot around it. Fry in small batches — 2 or 3 pieces at a time for a home fryer. Keep finished pieces warm in a 200°F oven on a wire rack while you work through the rest.
The Best Oils for Frying Fish
Use an oil with a high smoke point and neutral flavor. Oils that smoke at low temperatures will break down in a hot pan and impart an off flavor to the fish. Avoid olive oil and butter for deep-frying; they're not suitable for sustained high heat.
| Oil | Smoke Point | Flavor | Notes |
|---|---|---|---|
| Canola | 400°F | Neutral | Recommended Affordable, widely available, excellent neutral base for all frying. |
| Vegetable | 400–450°F | Neutral | Recommended The default choice for deep-frying. Widely available and economical for large-volume frying. |
| Peanut | 450°F | Very mild, slightly nutty | Excellent for deep-frying. Slightly more expensive but handles sustained high heat well. |
| Avocado | 520°F | Very neutral | Highest smoke point available. Expensive for frying volume but excellent for pan-searing. |
| Butter | 300°F (clarified: 450°F) | Rich, distinctly buttery | For pan-frying only. Regular butter burns quickly — use a mix of butter and oil, or clarified butter. Adds excellent flavor. |
| Olive Oil | 375°F (extra-light: 465°F) | Varies | Not ideal for deep-frying. Extra-light olive oil can work for pan-frying but adds minimal benefit over cheaper oils. |
Batters and Breading: What to Use When
The coating you choose changes the character of the finished dish significantly. A beer batter gives a thick, puffy, tempura-like crust ideal for deep-frying. Panko gives a shatteringly crispy, lightweight crust perfect for pan-frying. Cornmeal gives a coarser, crunchier crust with more texture — the classic Southern choice for catfish and bluegill.
Flour, cornstarch, baking powder, salt, and cold beer whisked to a smooth batter. The carbonation creates a light, airy texture. The cornstarch improves crispiness. Keep the batter cold — warm batter won't crisp properly. Used in the beer-battered walleye recipe.
Standard breading technique: flour → egg wash → panko. The panko creates a coarser, crunchier texture than regular breadcrumbs and browns faster. Season the flour and panko separately. Used in the crispy walleye fingers recipe.
Equal parts cornmeal and flour with salt, pepper, garlic powder, and cayenne. Shake fillets in a bag to coat evenly. Gives a coarser, crunchier crust with more texture — the traditional Southern fish fry coating. Excellent on catfish and bluegill.
The simplest coating — flour seasoned with salt, pepper, garlic powder, and paprika. Creates a thin, delicate crust rather than a thick coating. Best for delicate fillets like perch or trout where you want to taste the fish as much as the coating.
Ice-cold water, flour, and a single egg — barely mixed (lumps are fine). The cold temperature and minimal mixing prevent gluten from developing, which gives a lighter, crispier result than beer batter. Best used immediately and discarded after one use.
Skip the coating entirely and pan-sear or pan-fry the fillet skin-side down in butter and oil. The skin crisps, the flesh stays moist. This is the simplest and arguably the best way to cook a fresh-caught walleye or perch. Covered in detail in the walleye cooking guide.
The Fish Fry Formula: Troubleshooting
Crust is pale and soft. Oil wasn't hot enough when the fish went in, or too much moisture on the fillet surface. Pat drier and check oil temperature before the next batch.
Crust falls off. Fillet surface was wet, or you moved the fish before the crust was set. Let it cook undisturbed — a properly formed crust releases on its own. Also check that your coating was applied thinly and evenly; too thick a coating doesn't adhere as well.
Fish is greasy. Oil temperature too low, or the fish spent too long in the fryer. Keep temperature at 350–375°F and pull the fish as soon as the internal temp hits 145°F.
Coating burns before fish is cooked through. Fillets are too thick for the method, or oil temperature is too high. Cut thicker fillets into strips (like walleye fingers) for more even cooking, or finish thick pieces in a 375°F oven after the crust is set.
Fish sticks to the pan. Pan wasn't hot enough before the oil was added, or the fish was moved before the crust released naturally. A properly preheated cast iron pan with hot oil almost never sticks — be patient and let the crust form. If you're looking to upgrade your pan or thermometer, a free Amazon price drop alert is an easy way to get notified when the gear you want goes on sale.
Fish Fry Recipes on This Site
The frying techniques in this guide are put to work in several recipes. The beer-battered walleye is the classic deep-fry application — a light, crispy batter that mirrors a traditional fish and chips preparation. The crispy walleye fingers use the panko technique for a shatteringly crispy crust on walleye strips. The bluegill tacos use a quick pan-sear (no coating) to cook thin bluegill fillets fast before loading them into tacos with mango and chipotle mayo.
For the full range of what fried freshwater fish can become — from walleye fish and chips to walleye fingers with five different dipping sauces — the Complete Walleye Recipe Cookbook covers it in depth. And for anyone who catches multiple species and wants easy weeknight fish dinner ideas, the freshwater cookbook has recipes for all six.